Wooden Train Whistle
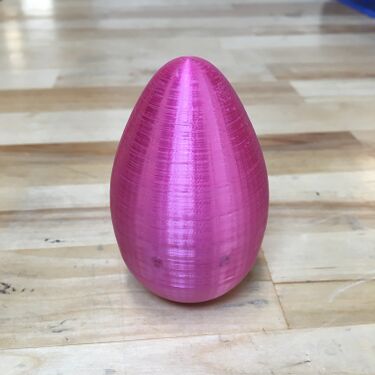
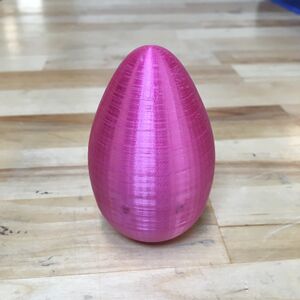
In this TV, we will take you through the steps of designing an egg shaker in SolidWorks, preparing the print in PrusaSlicer, and then 3D printing it using the Prusa 3D Printer.
Procedure
Buckle up...
SolidWorks
Step 1: Open SolidWorks 2020, and select a new part. Don't forget to save your file frequently as you go. In the bottom-right corner of your Solidworks window, change the units to MMGS (millimeter, gram, second).
Step 2: Select the Front Plane in the design tree (the left column on your screen) to begin your sketch. Click on the Sketch tab above and click Sketch.
Step 3: Make a vertical line starting from the origin. Then use the smart dimension tool to make it 3mm tall. Follow the same process to draw 2 more lines stacked on top of one another, and make them the lengths shown in the screenshot below. Make the inner line a construction line by clicking on it (after exiting the Smart Dimension tool) and hovering over the icons until you find the "Construction Geometry" icon. After clicking it, the line will become dashed.


