Soldering Irons
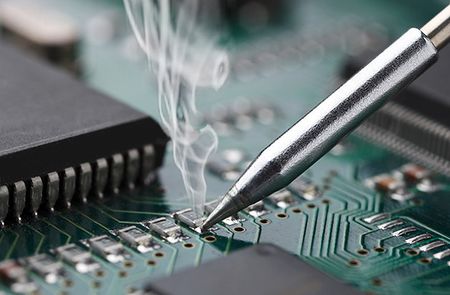
Soldering, is a process in which two or more items (usually metal) are joined together by melting and putting a filler metal (solder) into the joint, the filler metal having a lower melting point than the adjoining metal. Soldering differs from welding in that soldering does not involve melting the work pieces. In brazing, the filler metal melts at a higher temperature, but the work piece metal does not melt. In the past, nearly all solders contained lead, but environmental and health concerns have increasingly dictated use of lead-free solder for electronics and plumbing purposes.
Maker Hub Soldering Irons
The Weller irons use a resistive tip to generate heat. By varying the power through the tip, the temperature can be controlled. The Metcal uses an inductive tip that is tuned to be at one temperature. Important Note: One should never use the abrasive tip tinner on the Metcal tips. This can damage them.
Solders
There are different types of solder available in the Maker Hub. The standard solder is blah. Something in here about the solder pastes as well. Then an explanation of how we need to do something different for the Voltera interactions.
Documentation
pdf comic book of operations
Troubleshooting
Training
Soldering is not difficult, but understanding some basic concepts will go a long way toward a successful experience. After scouring the web for examples of soldering training, we really liked the lessons captured in two different sets, one from PACE and one from Howcast. The videos from PACE are well produced (for something older than your parents) and have a lot of good information. Most of the quizzable information is in the very first video, but the other videos have great examples of good and bad soldering joints.
The second set of videos are a little more modern, and a good resource, but not as technically interesting. There is more in there about surface-mount soldering, which is something you will want to do later, but is not required for your initial certification. Therefore, we just included a couple of short videos on desoldering to explain some things missing from the PACE videos.
Finally, there is an official training video from the Maker Hub that is tailored to our specific space and equipment. This video will give you the information you need to perform the live solder demonstration required for your soldering certification.
PACE Basic Soldering Series
This nostalgic set of videos from PACE are quite old, but surprisingly still quite relevant. The style makes you think that you will be getting ready to watch an old Disney cartoon - you aren't. Don't get disappointed.
Basic Soldering Lesson 1
This is by far the longest of the videos at (20:44), but also packed with the most pertinent information. It provides great background on solder, flux, wetting, and then mechanics of the iron and the joint. We do not have the student handbook that is mentioned. We suspect that you can manage without that. Here are some key ideas that you should watch for:
- What is solder?
- What temperatures do the different solders melt at?
- What is flux?
- What is wetting?
- What are the different aspects of a soldering iron?
Basic Soldering Lesson 2
This video is dated, but provides some excellent examples of the difference between good and bad solder joints where wires are involved.
Basic Soldering Lesson 3
This video shows a good example of melting solder before inserting wire.
Basic Soldering Lesson 4
This video is similar to Lesson 2, but again, great examples of good vs. bad solder joints with wire.
Basic Soldering Lesson 5
Very short video. Just a different type of wire joint.
Basic Soldering Lesson 6
Good explanation of a "semi-clenched" method for soldering an axial-lead component. This technique allows the component to be held in place for soldering without any extra tape or glue (or a potentially burnt finger).
Basic Soldering Lesson 7
Applying the "clenching" idea to an IC. Typically, we will not use this technique, but will instead hold the part and "tack" these same leads with solder - just to hold it. The rest of the video has great examples of IC's being soldered.
Basic Soldering Lesson 8
We don't normally see too many of these any more, but again, nice examples of good joints that are similar to components we still use.
Basic Soldering Lesson 9
Rather than flatpack or planar components, we generally use "surface-mount" now. But, the soldering part is still useful to watch. The techniques are similar. Our PCB's will generally come "pre-tined" and the component leads are already bent, but the rest of the soldering is the same.
Howcast How to Solder
This set of videos from Howcast is worth watching, but we will only highlight a couple of them here.
How to Remove Solder
How to Remove Through-Hole Components
Maker Hub Video
Certification
FoxTale Course
To obtain certification for using the soldering irons in the Maker Hub, you will need to complete the FoxTale course Maker Hub - Soldering Iron. This course contains a quiz with questions from the videos. When the quiz has been completed, you can sign up for a live training session.
Demonstration
For the live demonstration you will receive a small PCB and a few components and will be required to solder the components to the circuit board. The circuit kit contains a 555 timer IC, 3 resistors, a capacitor, and LED, and a 9V battery connector. When completed, the system will slowly blink the LED. The schematic of the circuit is shown below.
.
