Difference between revisions of "Windchimes"
Cpainter17 (talk | contribs) |
Cpainter17 (talk | contribs) |
||
| Line 54: | Line 54: | ||
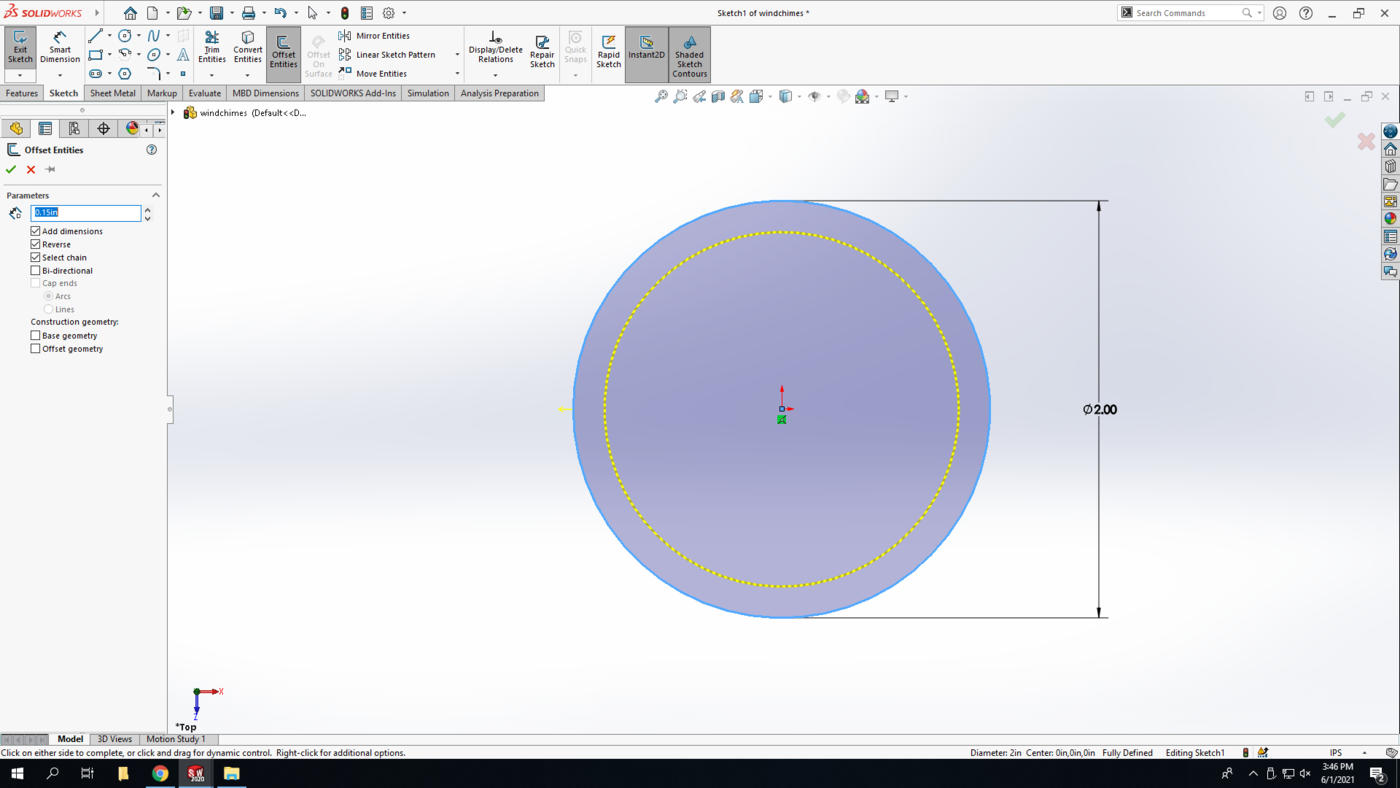
Offset the circle inwards a distance of 0.15 in | Offset the circle inwards a distance of 0.15 in | ||
[[File:Chimes 5.png|1400px|none]] | [[File:Chimes 5.png|1400px|none]] | ||
| + | |||
| + | <br> | ||
| + | <br> | ||
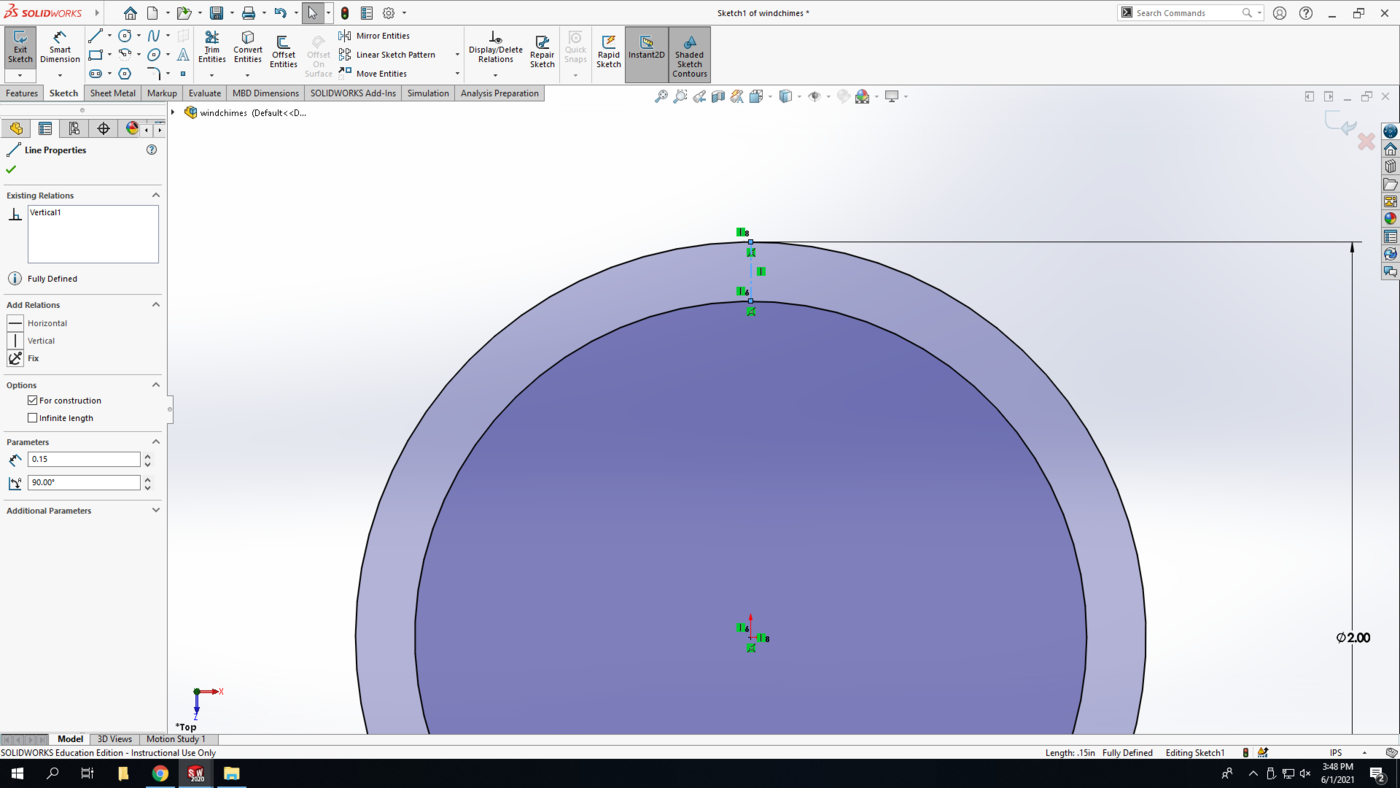
| + | <strong>Step 5:</strong> Draw a construction line from the quadrant point of the inner circle to the quadrant point of the outer circle. | ||
| + | [[File:Chimes 6.png|1400px|none]] | ||
| + | |||
| + | <br> | ||
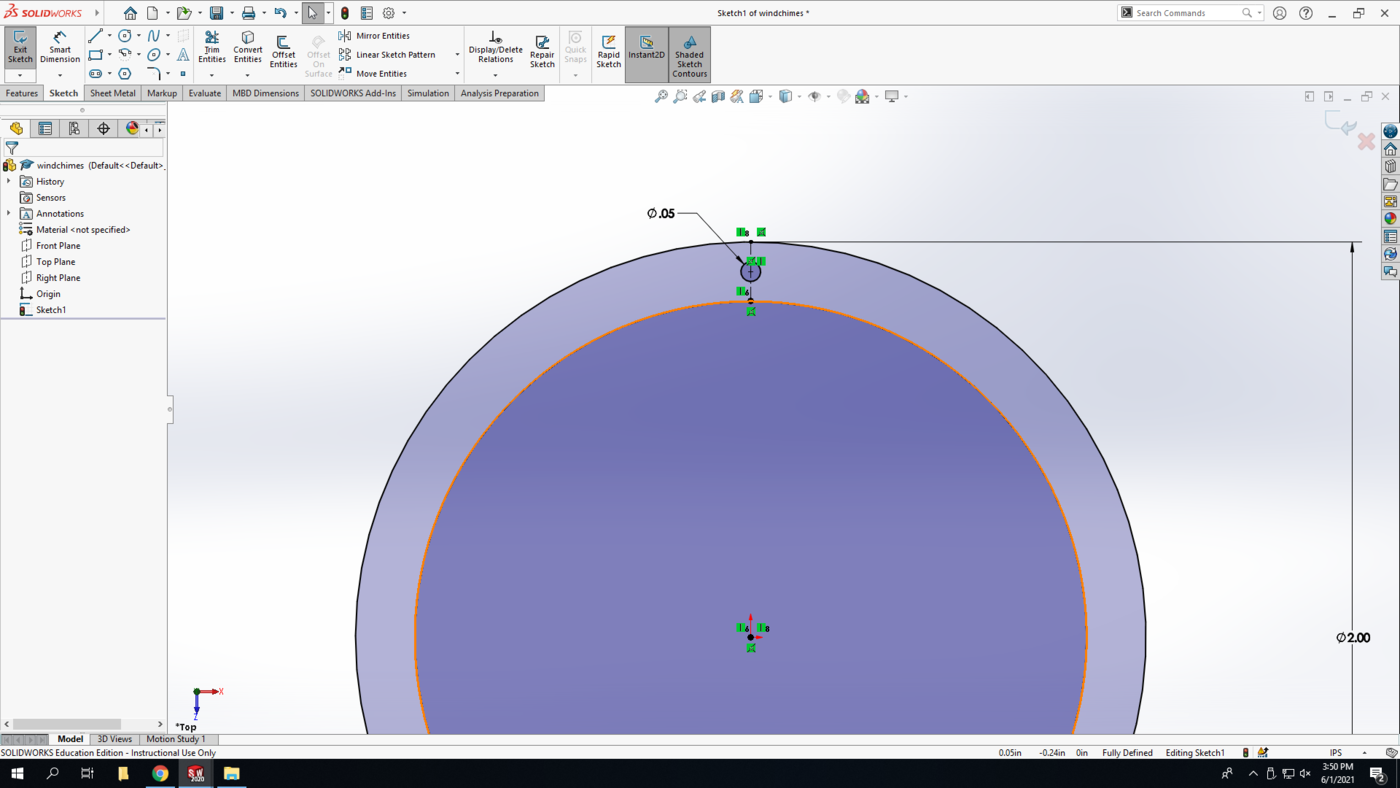
| + | Draw a small circle centered at the midpoint of the construction line. Set the diameter to 0.05 in | ||
| + | [[File:Chimes 7.png|1400px|none]] | ||
| + | |||
| + | <br> | ||
| + | We are going to make a total of four of these circles around the perimeter of the circle using a sketch pattern. These are going to be used to tie the hanging strings to. | ||
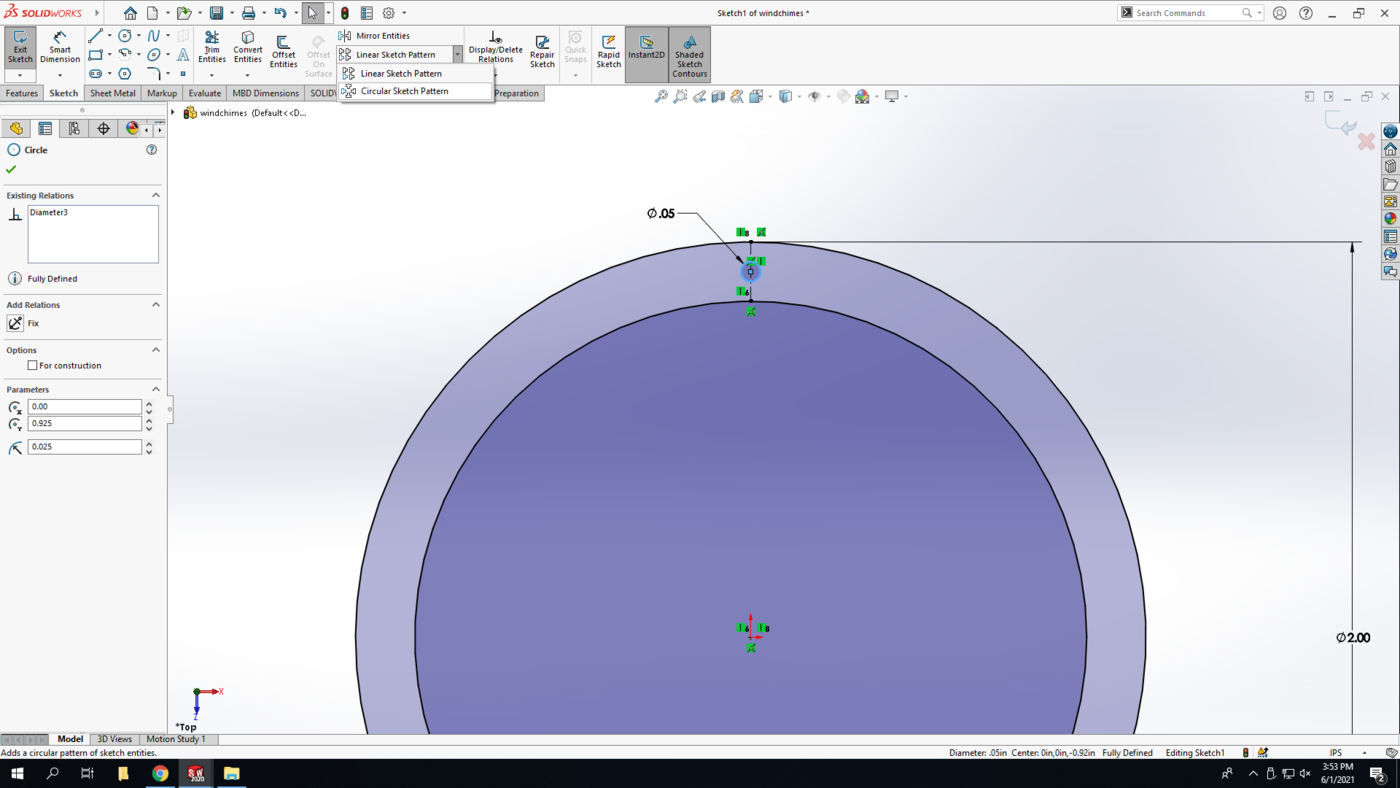
| + | Select the small circle, then the drop down arrow next to “Linear Sketch Pattern” in the sketch pane. Select “Circular Sketch Pattern” | ||
| + | [[File:Chimes 8.png|1400px|none]] | ||
| + | |||
| + | <br> | ||
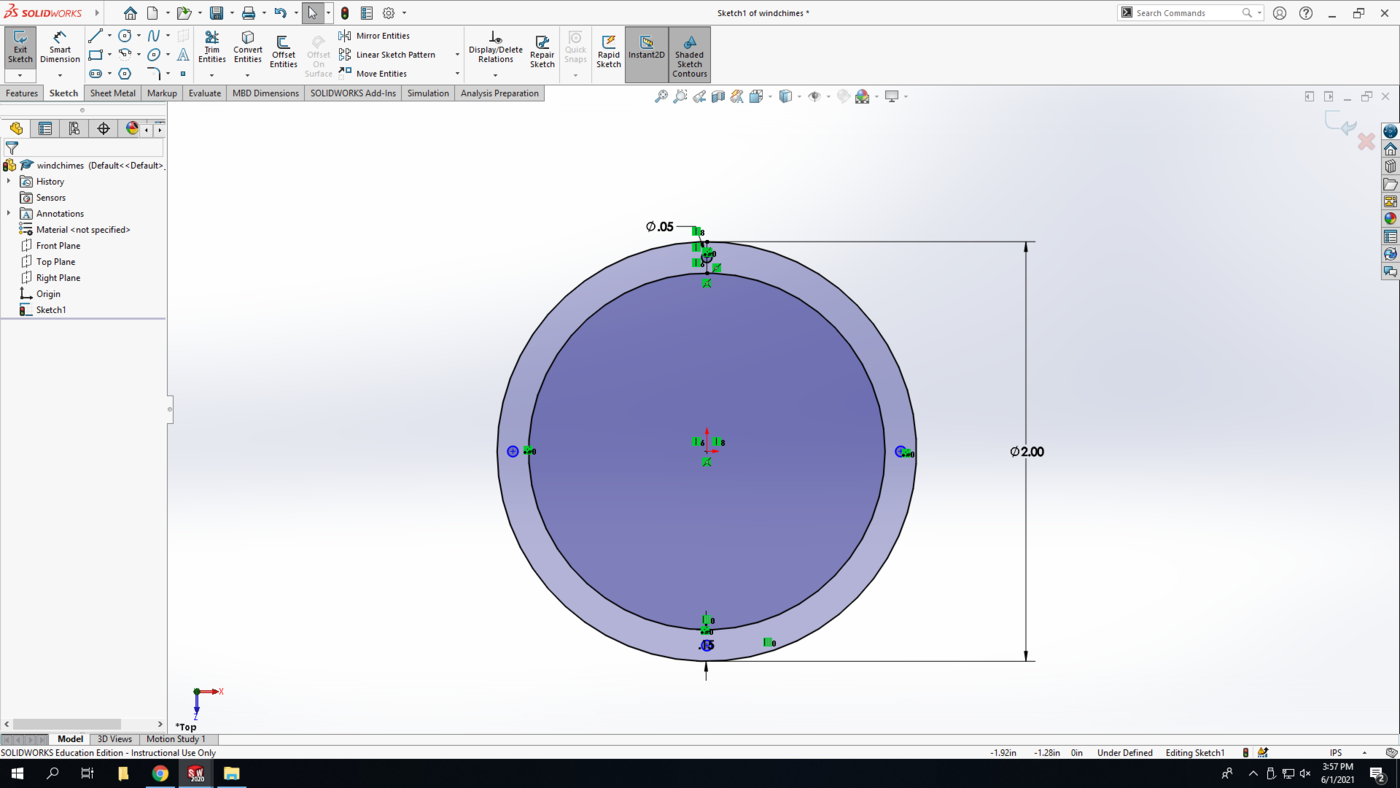
| + | In the sidebar, change the number of instances to 4 and click the green check mark. This will make 4 evenly spaced, identical circles around a center point. | ||
| + | [[File:Chimes 9.png|200px|left]] | ||
| + | [[File:Chimes 10.png|1400px|none]] | ||
Revision as of 12:36, 14 June 2021
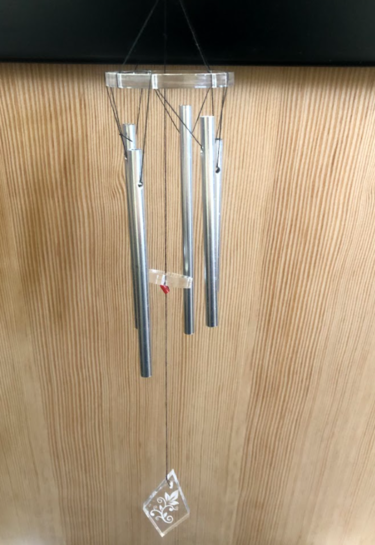
This TV will have you draw the chimes in SolidWorks, cut them in the Laser Cutter, and build your own set of windchimes using acrylic discs and pre-made chimes.
Procedure
Buckle up...
SolidWorks
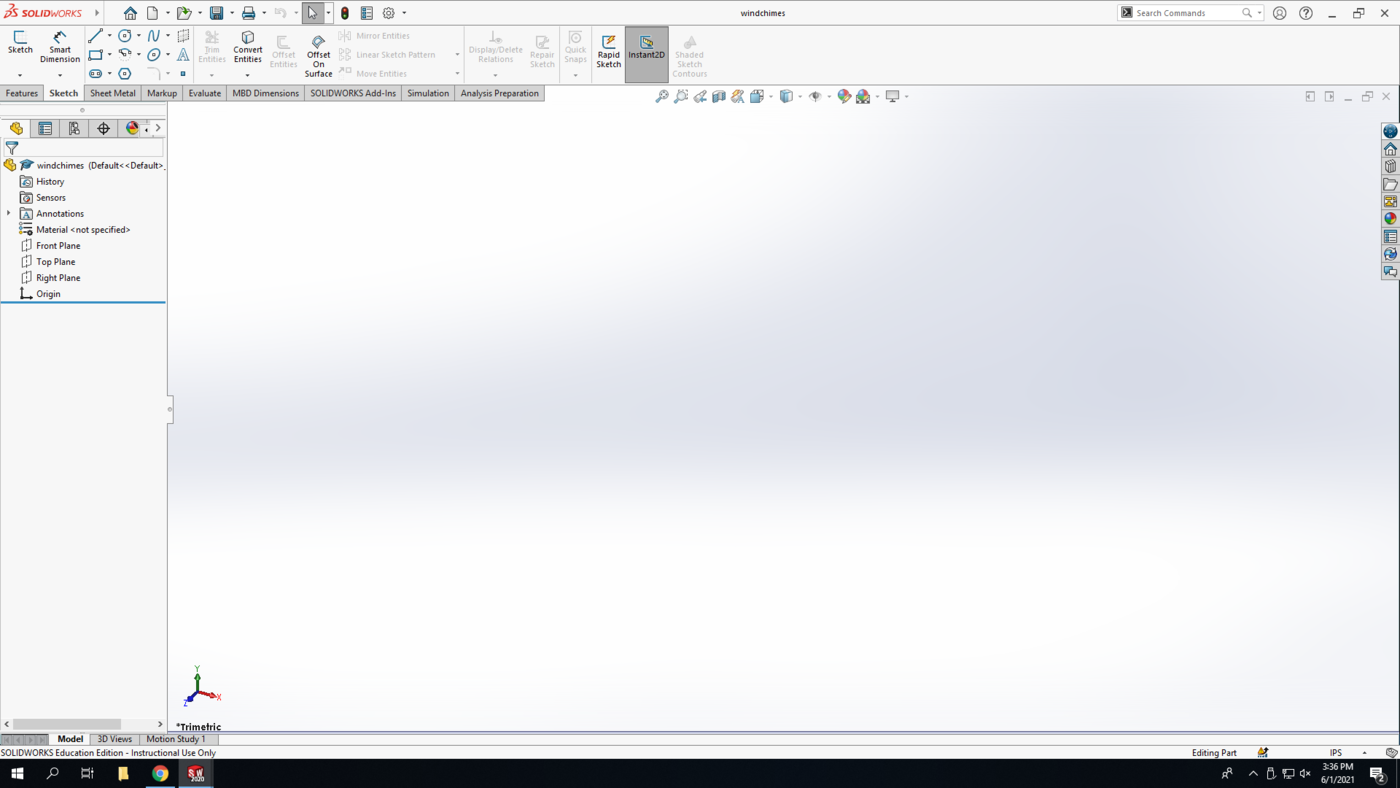
Step 1: Open SolidWorks 2020, and select a new part. Don't forget to save your file frequently as you go. In the bottom-right corner of your Solidworks window, set the units to IPS (inch, pound, second).
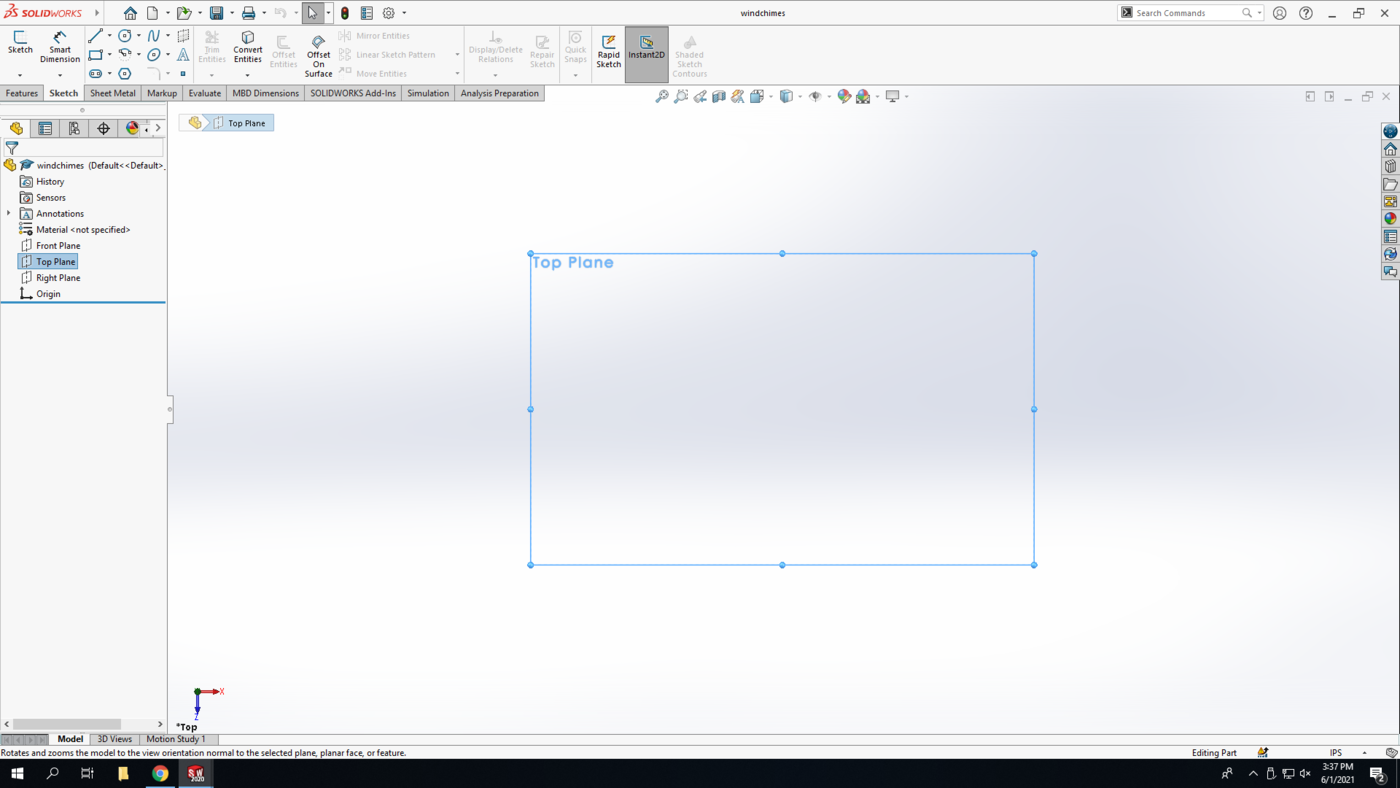
Step 2: Select the Top Plane in the design tree (the left column on your screen) to begin your sketch. Click on the Sketch tab above and click Sketch.
Step 3: We are going to start with the main hanger.
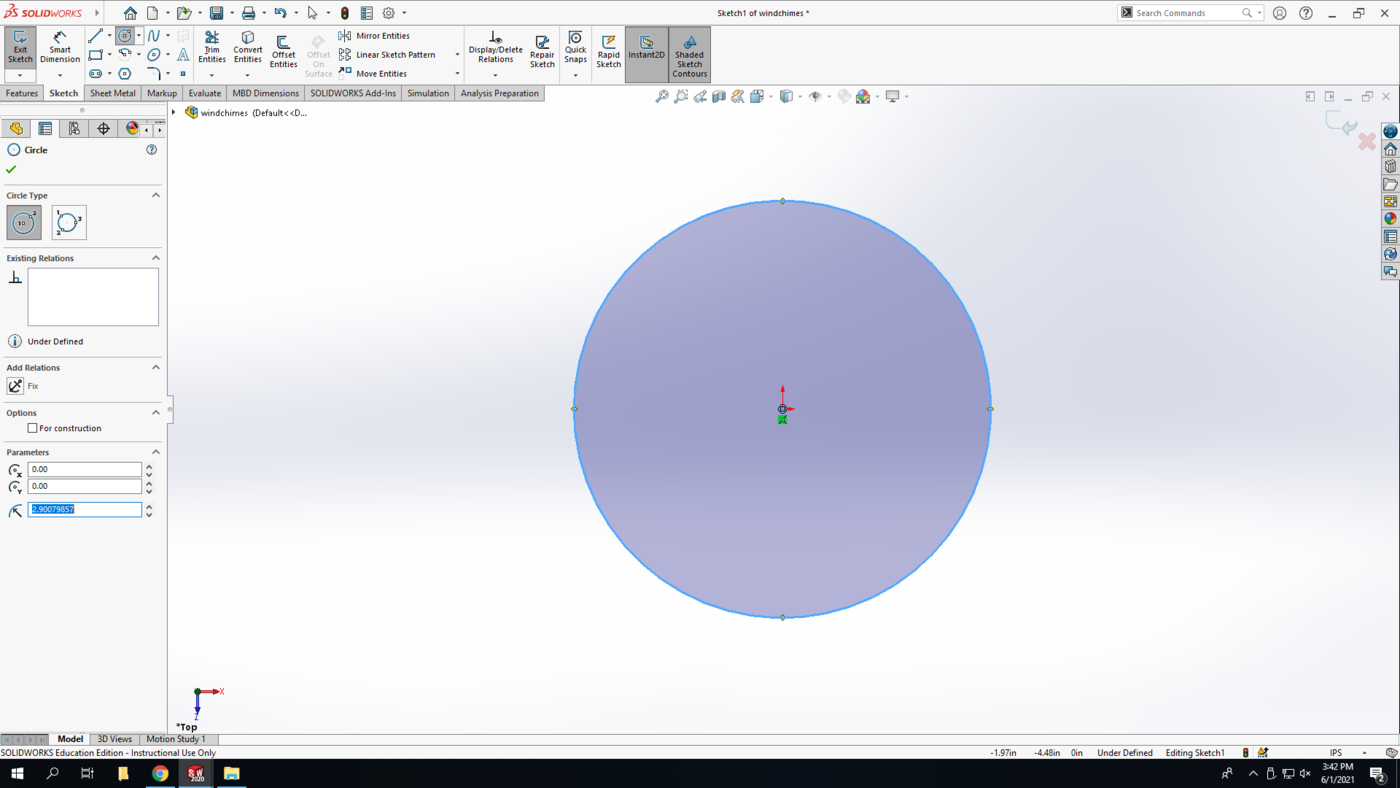
The first circle is going to be centered at the origin. Select the circle command in the sketch pane. Where you select is going to be the center of the circle, so click the origin and build out the circle at any size.
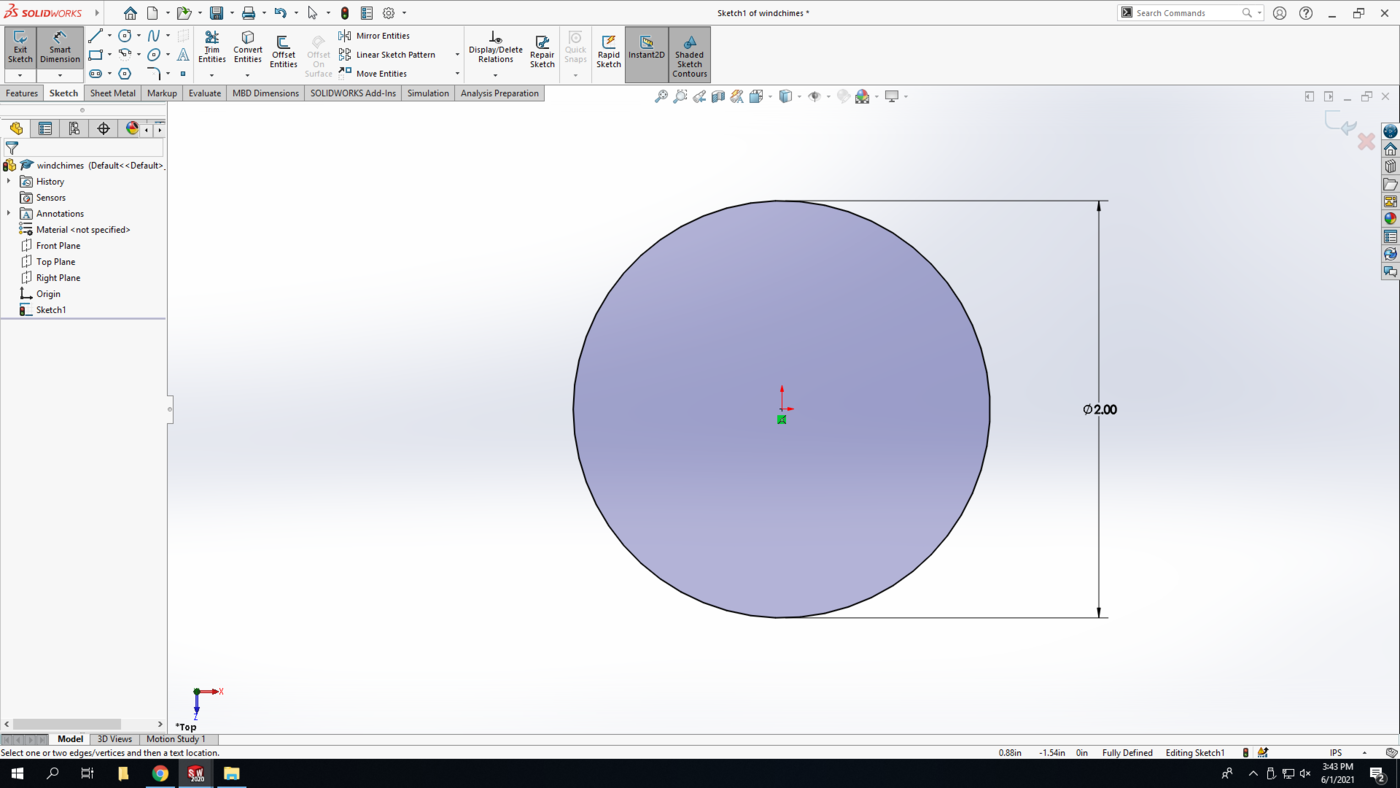
Step 4: Using the Smart dimension tool, make the diameter of the circle 2 in
Offset the circle inwards a distance of 0.15 in
Step 5: Draw a construction line from the quadrant point of the inner circle to the quadrant point of the outer circle.
Draw a small circle centered at the midpoint of the construction line. Set the diameter to 0.05 in
We are going to make a total of four of these circles around the perimeter of the circle using a sketch pattern. These are going to be used to tie the hanging strings to.
Select the small circle, then the drop down arrow next to “Linear Sketch Pattern” in the sketch pane. Select “Circular Sketch Pattern”
In the sidebar, change the number of instances to 4 and click the green check mark. This will make 4 evenly spaced, identical circles around a center point.
