Difference between revisions of "PCB Printer"
Jwhipple15 (talk | contribs) |
Jwhipple15 (talk | contribs) |
||
| Line 5: | Line 5: | ||
|Has icon=File:PCB_printer_icon.png | |Has icon=File:PCB_printer_icon.png | ||
|Has icondesc=Voltera Icon | |Has icondesc=Voltera Icon | ||
| + | |Has iconwname=PCB_printer_icon_name.png | ||
|Has image=File:voltera-vone.png | |Has image=File:voltera-vone.png | ||
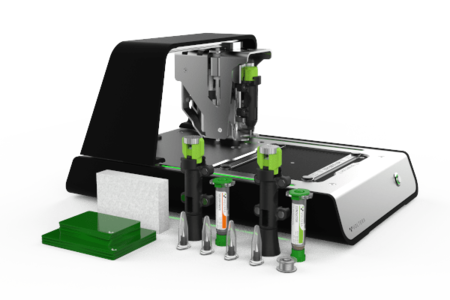
|Has imagedesc=The Voltera V-One PCB Printer | |Has imagedesc=The Voltera V-One PCB Printer | ||
Revision as of 07:49, 9 July 2018
The Voltera V-One brings quick turn PCBs to your desktop. Import your gerber file into the Voltera software, press print, and the V-One will bring your board to life. Use the solder paste dispensing and reflow features to mount components onto your printed board, or mount components on a pre-fabricated board with ease. [1]
Documentation
Training
Hello World
The Voltera comes with a getting started tutorial called "Hello World." It will guide you through fabricating your own single-sided board from start to finish.
Punk Console
After completing the Hello World tutorial, you can proceed with making double-sided boards. Voltera has a tutorial called "Punk Console" which walks through creating your own double-sided board. It also shows how to use the V-One drill to make vias and component through-holes.
