Difference between revisions of "T-Shirt"
Jump to navigation
Jump to search
| Line 35: | Line 35: | ||
* After you click OK, it looks like nothing has happened, except that the select focus changes to the T-shirt itself. This is because there is actually another new object on top of the image - the newly created T-shirt trace. Try moving it. | * After you click OK, it looks like nothing has happened, except that the select focus changes to the T-shirt itself. This is because there is actually another new object on top of the image - the newly created T-shirt trace. Try moving it. | ||
[[Image:T_Shirt_Trace_Bitmap_Result.png|300px]] | [[Image:T_Shirt_Trace_Bitmap_Result.png|300px]] | ||
| + | * If you click on the "Edit Paths by Node" symbol [[Image:Inkscape_Edit_Paths_By_Node.png]] you will see that the image is now a vector made up of a series of paths [[Image:T_Shirt_Vector_Image.png]]. | ||
| + | * Return to the standard select tool. Select the box that is around the TV screen (it was placed there just for this purpose), and shift-select the new T-shirt Image. Use the Object->Align and Distribute command to bring up the Align and Distribute window, and then align them on center both vertically and horizontally. [[Image:Inkscape_Align_And_Distribute.png]] | ||
| + | * When completed, you should have this image. | ||
| + | [[Image:T_Shirt_]] | ||
== Edit the Maker Hub logo == | == Edit the Maker Hub logo == | ||
# Add a white background to it for our dark shirt | # Add a white background to it for our dark shirt | ||
Revision as of 21:14, 13 July 2019
"Versaworks" is not in the list (7-Zip, Altium, Ansys, ArcGIS, Arduino, CutStudio, EES, FabCreator, Inkscape, Logic, ...) of allowed values for the "Uses software" property.
In this TV, we will attach a logo on the front and back of a T-Shirt. We will use the Vinyl Cutter for the single color icon of this TV and use this for the front left of the T-shirt. The Maker Hub logo will be printed on the Vinyl Printer+Cutter and attached to the back. The Vinyl will all be affixed using the Heat Press.
Familiarize yourself with Inkscape
Follow the directions given in the Training section on the Inkscape page.
Create the T-shirt TV logo
- Download TV_Shell.svg.
- Download T_shirt_outline.jpg.
- Open up the TV_Shell.svg in Inkscape.
- Import the T_Shirt_outline.jpg into Inkscape.
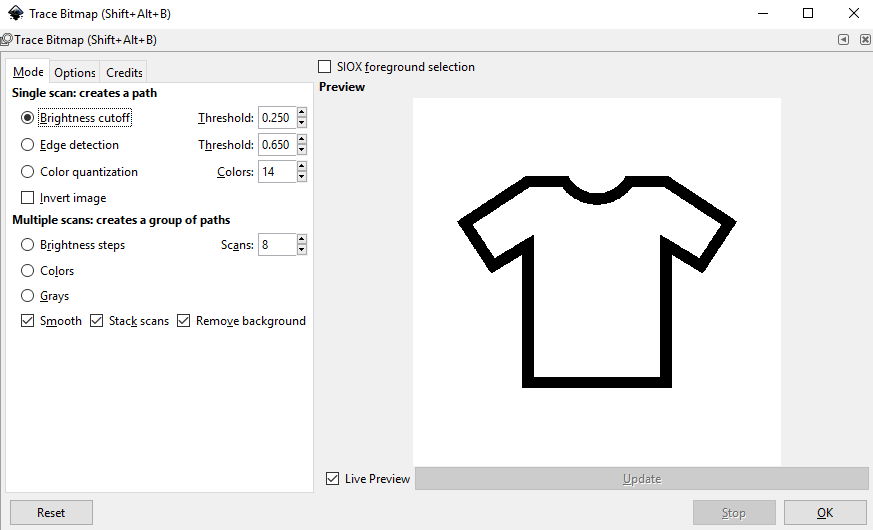
- Now turn this raster image into a vector image. With the image selected, run Path->Trace Bitmap. In the dialog box, I selected "Remove Background" so that the vector would be transparent. I also selected "Live Preview" so that I could see what was happening with different options. As it turns out, for this very simple bitmap, the default works just fine.
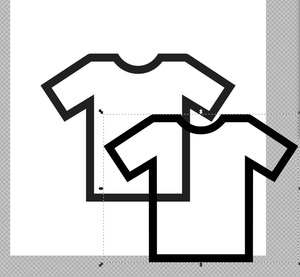
- After you click OK, it looks like nothing has happened, except that the select focus changes to the T-shirt itself. This is because there is actually another new object on top of the image - the newly created T-shirt trace. Try moving it.
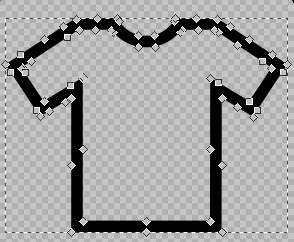
- If you click on the "Edit Paths by Node" symbol
 you will see that the image is now a vector made up of a series of paths
  .
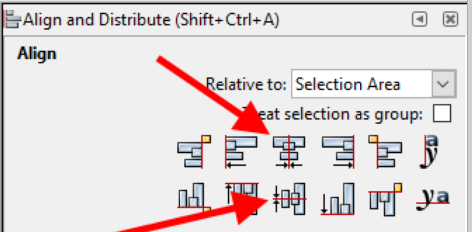
. - Return to the standard select tool. Select the box that is around the TV screen (it was placed there just for this purpose), and shift-select the new T-shirt Image. Use the Object->Align and Distribute command to bring up the Align and Distribute window, and then align them on center both vertically and horizontally.

- When completed, you should have this image.
Edit the Maker Hub logo
- Add a white background to it for our dark shirt

