Difference between revisions of "Windchimes"
Jump to navigation
Jump to search
Cpainter17 (talk | contribs) (Created page with "{{#set: |Is tv=True |Has name={{PAGENAME}} |Has icon=File:Triangle complete.png |Has icondesc=Egg Shaker Icon |Has image=File:Triangle complete.png |Has description=Fini...") |
Cpainter17 (talk | contribs) |
||
| Line 32: | Line 32: | ||
==SolidWorks== | ==SolidWorks== | ||
| − | <strong>Step 1:</strong> Open SolidWorks 2020, and select a new part. Don't forget to save your file frequently as you go. In the bottom-right corner of your Solidworks window, set the units to | + | <strong>Step 1:</strong> Open SolidWorks 2020, and select a new part. Don't forget to save your file frequently as you go. In the bottom-right corner of your Solidworks window, set the units to IPS (inch, pound, second). |
| − | + | [[File:Chimes 1.png|1400px|none]] | |
| − | [[File: | ||
<br> | <br> | ||
Revision as of 13:29, 14 June 2021

This TV will have you draw the chimes in SolidWorks, cut them in the Laser Cutter, and build your own set of windchimes using acrylic discs and pre-made chimes.
Procedure
Buckle up...
SolidWorks
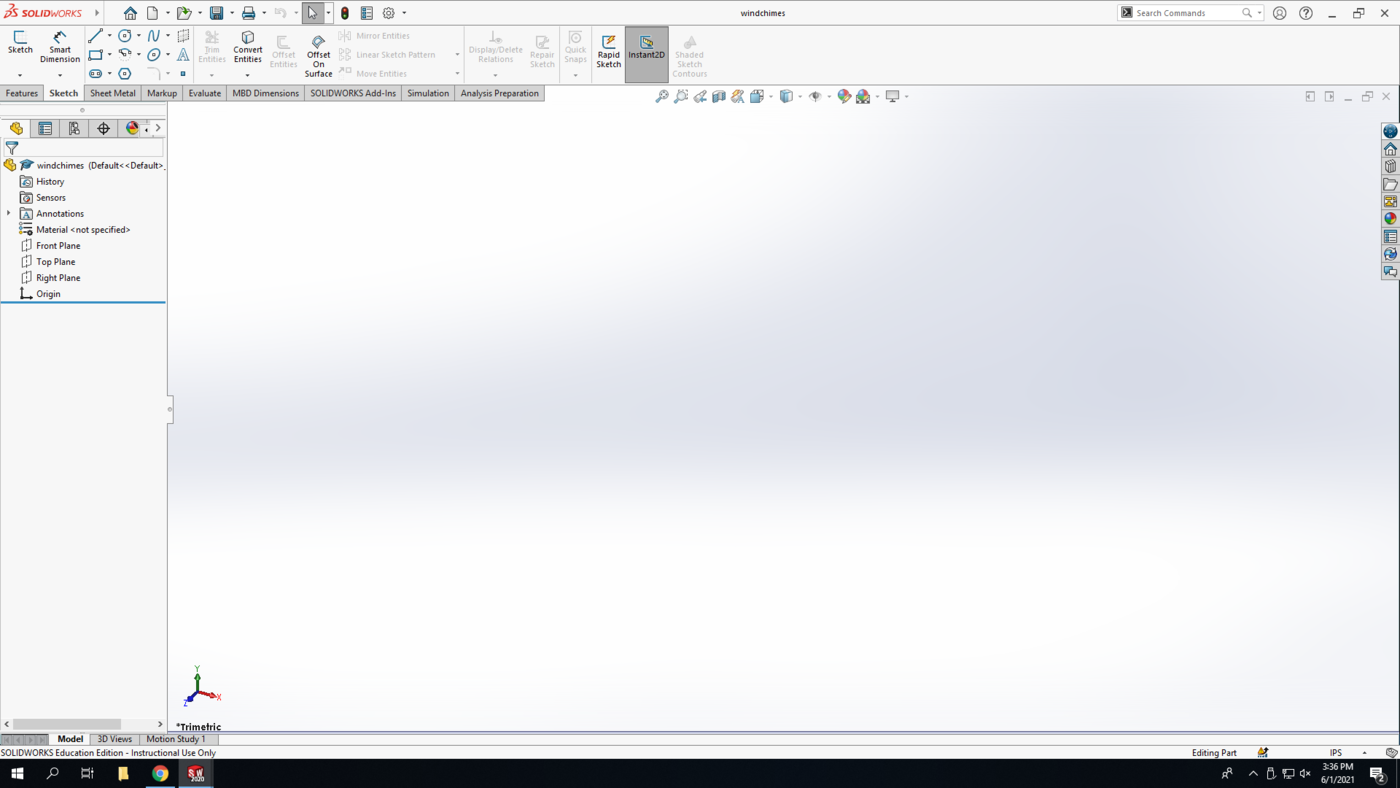
Step 1: Open SolidWorks 2020, and select a new part. Don't forget to save your file frequently as you go. In the bottom-right corner of your Solidworks window, set the units to IPS (inch, pound, second).

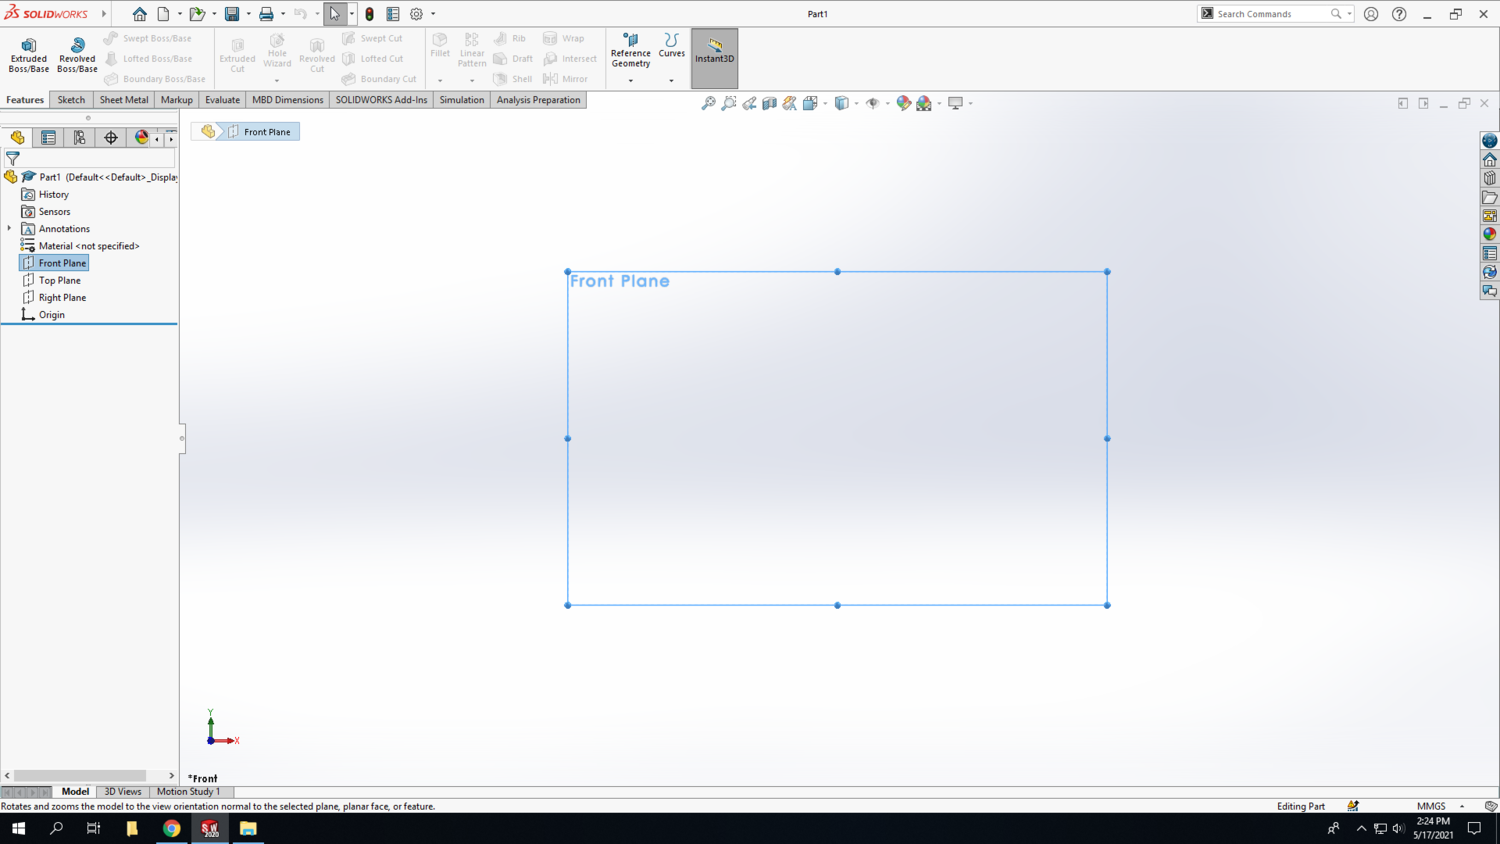
Step 2: Select the Front Plane in the design tree (the left column on your screen) to begin your sketch. Click on the Sketch tab above and click Sketch.
