Egg Shaker
In this TV, we will take you through the steps of designing an egg shaker in SolidWorks and then 3D printing it using the Prusa 3D Printer.
Procedure
Open SolidWorks 2020, and select a new part. Don't forget to save your file frequently as you go.
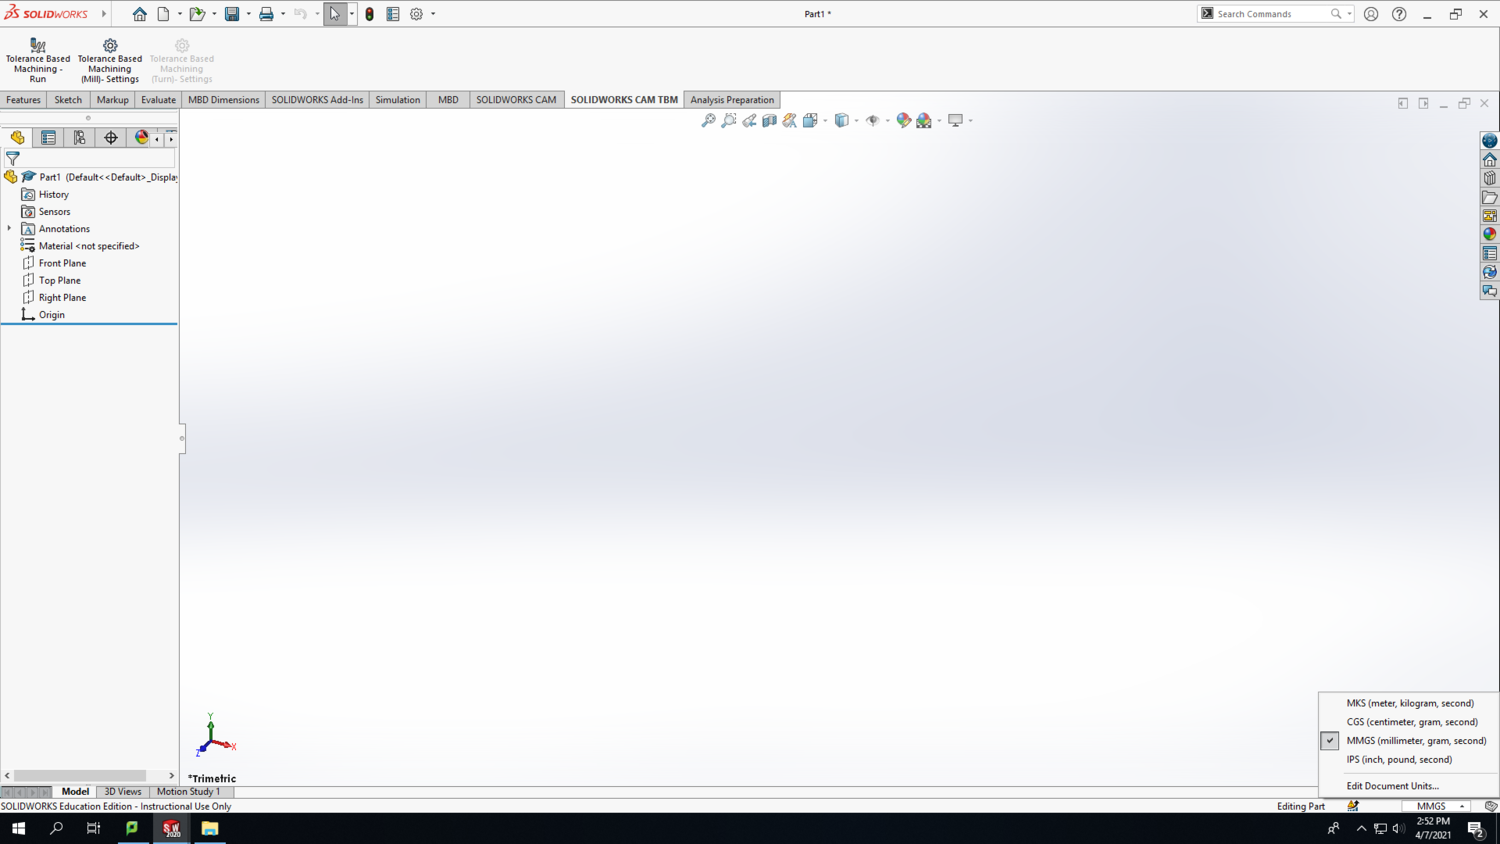
Step 1: In the bottom-right corner of your Solidworks window, change the units to MMGS (millimeter, gram, second).
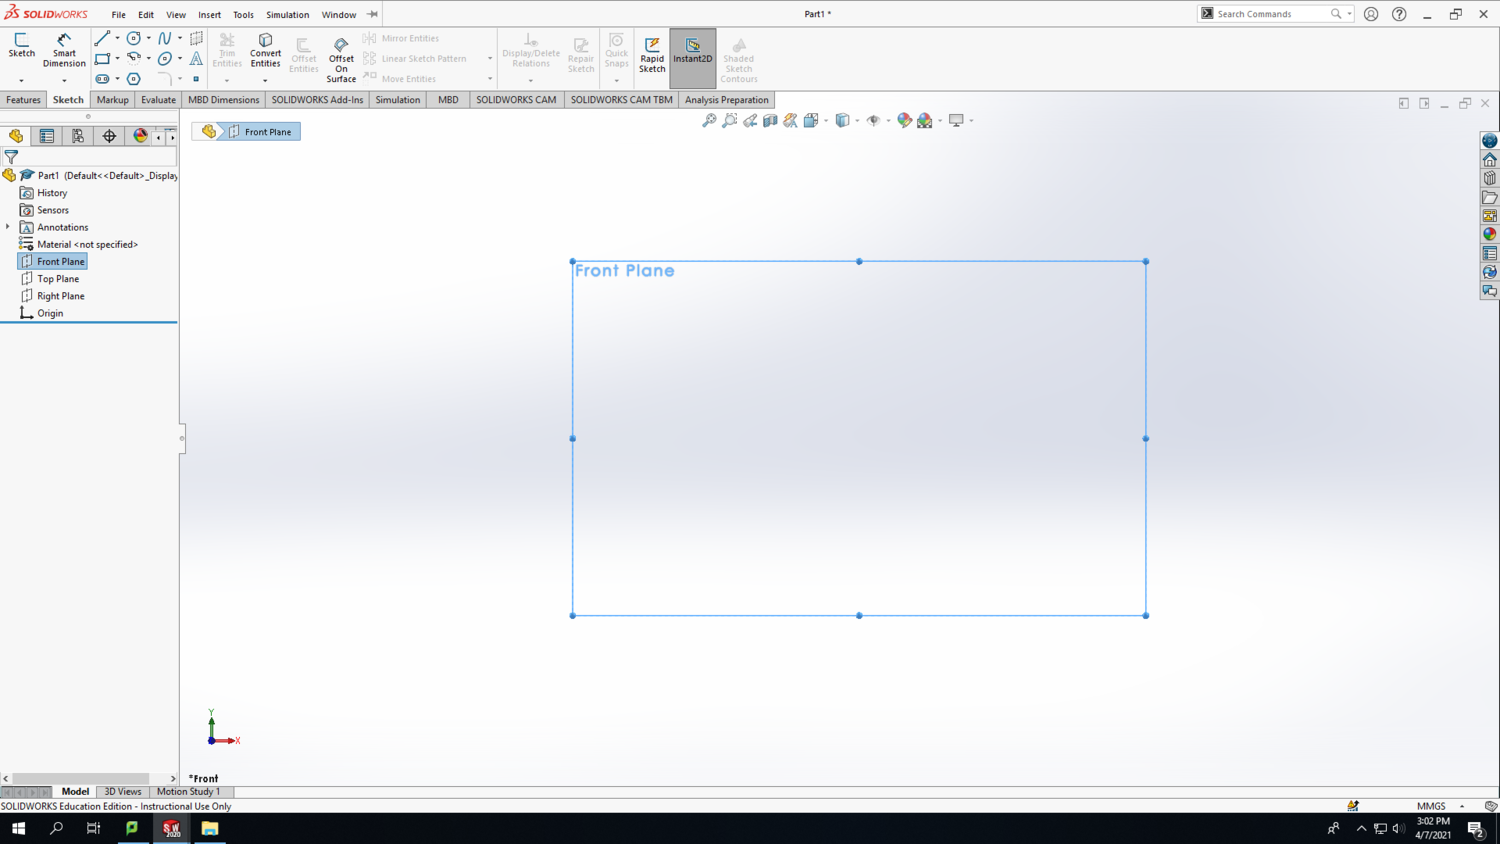
Step 2: Select the Front Plane in the design tree (the left column on your screen) to begin your sketch. Click on the Sketch tab above and click Sketch.
Step 3: Make a vertical line starting from the origin. Then use the smart dimension tool to make it 3mm tall. Follow the same process to draw 3 more lines stacked on top of one another, and make them the lengths shown in the screenshot below. Make the inner two lines construction lines by clicking on the lines (after exiting the Smart Dimension tool) and hovering over the icons until you find the "Construction Geometry" icon. After clicking it, the lines will become dashed.
Screenshot (10)
Step 4: Make a horizontal line starting from the origin. Then use the smart dimension tool to make it 6mm long. Follow the same process to draw 2 more lines in succession, and make them the lengths shown in the screenshot below. Make the two lines farthest from the origin construction lines by clicking on the lines (after exiting the Smart Dimension tool) and hovering over the icons until you find the "Construction Geometry" icon. After clicking it, the lines will become dashed.
Screenshot (8)
Step 5: From the two points formed by the horizontal construction lines, draw two more vertical construction lines with the lengths shown in the screenshot below.
Screenshot (9)
Step 6: Toward the top of your sketch, draw two horizontal lines (one solid, one construction) with the lengths and locations shown in the screenshot below. If it's hard to read the length of the top horizontal line, it's 1mm long.
Screenshot (11)
At this point, you should have a total of 4 solid lines and 7 construction lines that look like the screenshot below.
Screenshot (12)
Use the spline feature to connect 5 points on your sketch and create a side profile of an egg. Click on each of the 5 points in succession (order matters), and press Esc to finish the spline.
Screenshot (14)
Now, you are encouraged to use your creativity to tweak the side profile of the egg to your own taste. I'll give a couple suggestions for how to tweak the spline for best results, but you are welcome to change the lengths of any of the construction lines to get different results. In addition, the arrows with diamonds that are tangent to the spline can be manipulated to change the shape of the curve. You always can press ctrl-Z if you don't like how the change looks.
If you zoom into the top of the egg, you'll notice that the spline connects to the 1mm horizontal line at an angle. We would like the spline to be approximately horizontal at the point of connection with the 1mm line. It doesn't need to be exact. To do that, pull the Smart Dimension of the 3mm line over to the right side to give yourself a reference. Then move the diamond/arrow thing from the spine parallel with the Smart Dimension reference line.
Screenshot (15) Screenshot (16)
Smart Dimension the line to 45 degrees from the vertical construction line.

